上一篇文章(搭建dubbo+zookeeper+spring环境-环境篇)中,我们安装好了zookeeper和dubbo的管理后台。现在我们来尝试写一下dubbo的服务提供者和消费者,体验一下整个流程。
新建Maven工程
新建dubbo-demo工程,只需要一个pom文件就行。因为他是其他项目的容器。这个项目的packaging需要设置为pom。
然后需要添加三个子工程,分别是dubbo-demo-api,dubbo-demo-provider,dubbo-demo-consumer。分别是dubbo服务的接口,dubbo服务的提供者和dubbo服务的消费者。其中dubbo-demo-provider是Java Web工程,其他两个是普通Java工程。
这个时候项目的结构是这样的:
1
2
3
4
5
6
7
8
9
10
11
12
13
14
15
16
17
18
19
20
21
22
23
24
25
26
27
28
29
| .
├── dubbo-demo-api
│ ├── pom.xml
│ └── src
│ ├── main
│ │ ├── java
│ │ └── resources
│ └── test
│ └── java
├── dubbo-demo-consumer
│ ├── pom.xml
│ └── src
│ ├── main
│ │ ├── java
│ │ └── resources
│ └── test
│ └── java
├── dubbo-demo-provider
│ ├── pom.xml
│ └── src
│ ├── main
│ │ ├── java
│ │ ├── resources
│ │ └── webapp
│ │ └── WEB-INF
│ │ └── web.xml
│ └── test
│ └── java
└── pom.xml
|
添加依赖
在provider和consumer项目中,引入dubbo的依赖:
1
2
3
4
5
6
7
8
9
10
11
12
13
14
15
16
17
18
19
20
21
22
23
24
25
26
27
| <dependencies>
<dependency>
<groupId>com.alibaba</groupId>
<artifactId>dubbo</artifactId>
<version>2.5.3</version>
</dependency>
<dependency>
<groupId>org.apache.zookeeper</groupId>
<artifactId>zookeeper</artifactId>
<version>3.3.3</version>
</dependency>
<dependency>
<groupId>com.github.sgroschupf</groupId>
<artifactId>zkclient</artifactId>
<version>0.1</version>
<exclusions>
<exclusion>
<groupId>org.apache.zookeeper</groupId>
<artifactId>zookeeper</artifactId>
</exclusion>
<exclusion>
<artifactId>junit</artifactId>
<groupId>junit</groupId>
</exclusion>
</exclusions>
</dependency>
</dependencies>
|
这里具体的依赖我还没完全弄清楚,不过上面这一套是可行的。同时dubbo依赖了Spring,这里我就不再引入了,尽量保持简单。
同时,消费者和提供者都依赖api项目,所以还需要添加api依赖:
1
2
3
4
5
| <dependency>
<groupId>com.mushan</groupId>
<artifactId>dubbo-demo-api</artifactId>
<version>1.0-SNAPSHOT</version>
</dependency>
|
编写服务接口
我们在api项目中定义一个最简单的接口。这个接口也就是我们要暴露服务。
1
2
3
4
5
| package com.mushan;
public interface DemoServer {
String sayHello(String name);
}
|
编写服务提供者
在provider项目中实现DemoServer接口。这里具体实现了服务。
1
2
3
4
5
6
7
| package com.mushan;
public class DemoServerImpl implements DemoServer {
public String sayHello(String name) {
return "hello " + name + "!";
}
}
|
添加服务提供者的Spring配置文件
因为dubbo是和Spring配合使用的,所以还得为项目添加Spring配置文件。
在provider项目的resources目录下添加spring.xml文件:
1
2
3
4
5
6
7
8
9
10
11
12
13
14
15
16
17
18
19
| <?xml version="1.0" encoding="UTF-8"?>
<beans xmlns="http://www.springframework.org/schema/beans"
xmlns:dubbo="http://code.alibabatech.com/schema/dubbo"
xmlns:xsi="http://www.w3.org/2001/XMLSchema-instance"
xsi:schemaLocation="http://www.springframework.org/schema/beans http://www.springframework.org/schema/beans/spring-beans.xsd
http://code.alibabatech.com/schema/dubbo http://code.alibabatech.com/schema/dubbo/dubbo.xsd">
<!-- 提供方应用信息,用于计算依赖关系 -->
<dubbo:application name="dubbo-server"/>
<!-- 使用multicast广播注册中心暴露服务地址 -->
<dubbo:registry address="zookeeper://localhost:2181"/>
<!-- 用dubbo协议在20880端口暴露服务 -->
<dubbo:protocol name="dubbo" port="20880"/>
<bean id="demoServer" class="com.mushan.DemoServerImpl" />
<dubbo:service interface="com.mushan.DemoServer" ref="demoServer" />
</beans>
|
为了让web项目在启动的之后找到这个Spring配置文件,还需要在web.xml中添加:
1
2
3
4
5
6
7
8
| <listener>
<listener-class>org.springframework.web.context.ContextLoaderListener</listener-class>
</listener>
<context-param>
<param-name>contextConfigLocation</param-name>
<param-value>classpath:spring.xml</param-value>
</context-param>
|
运行服务提供者
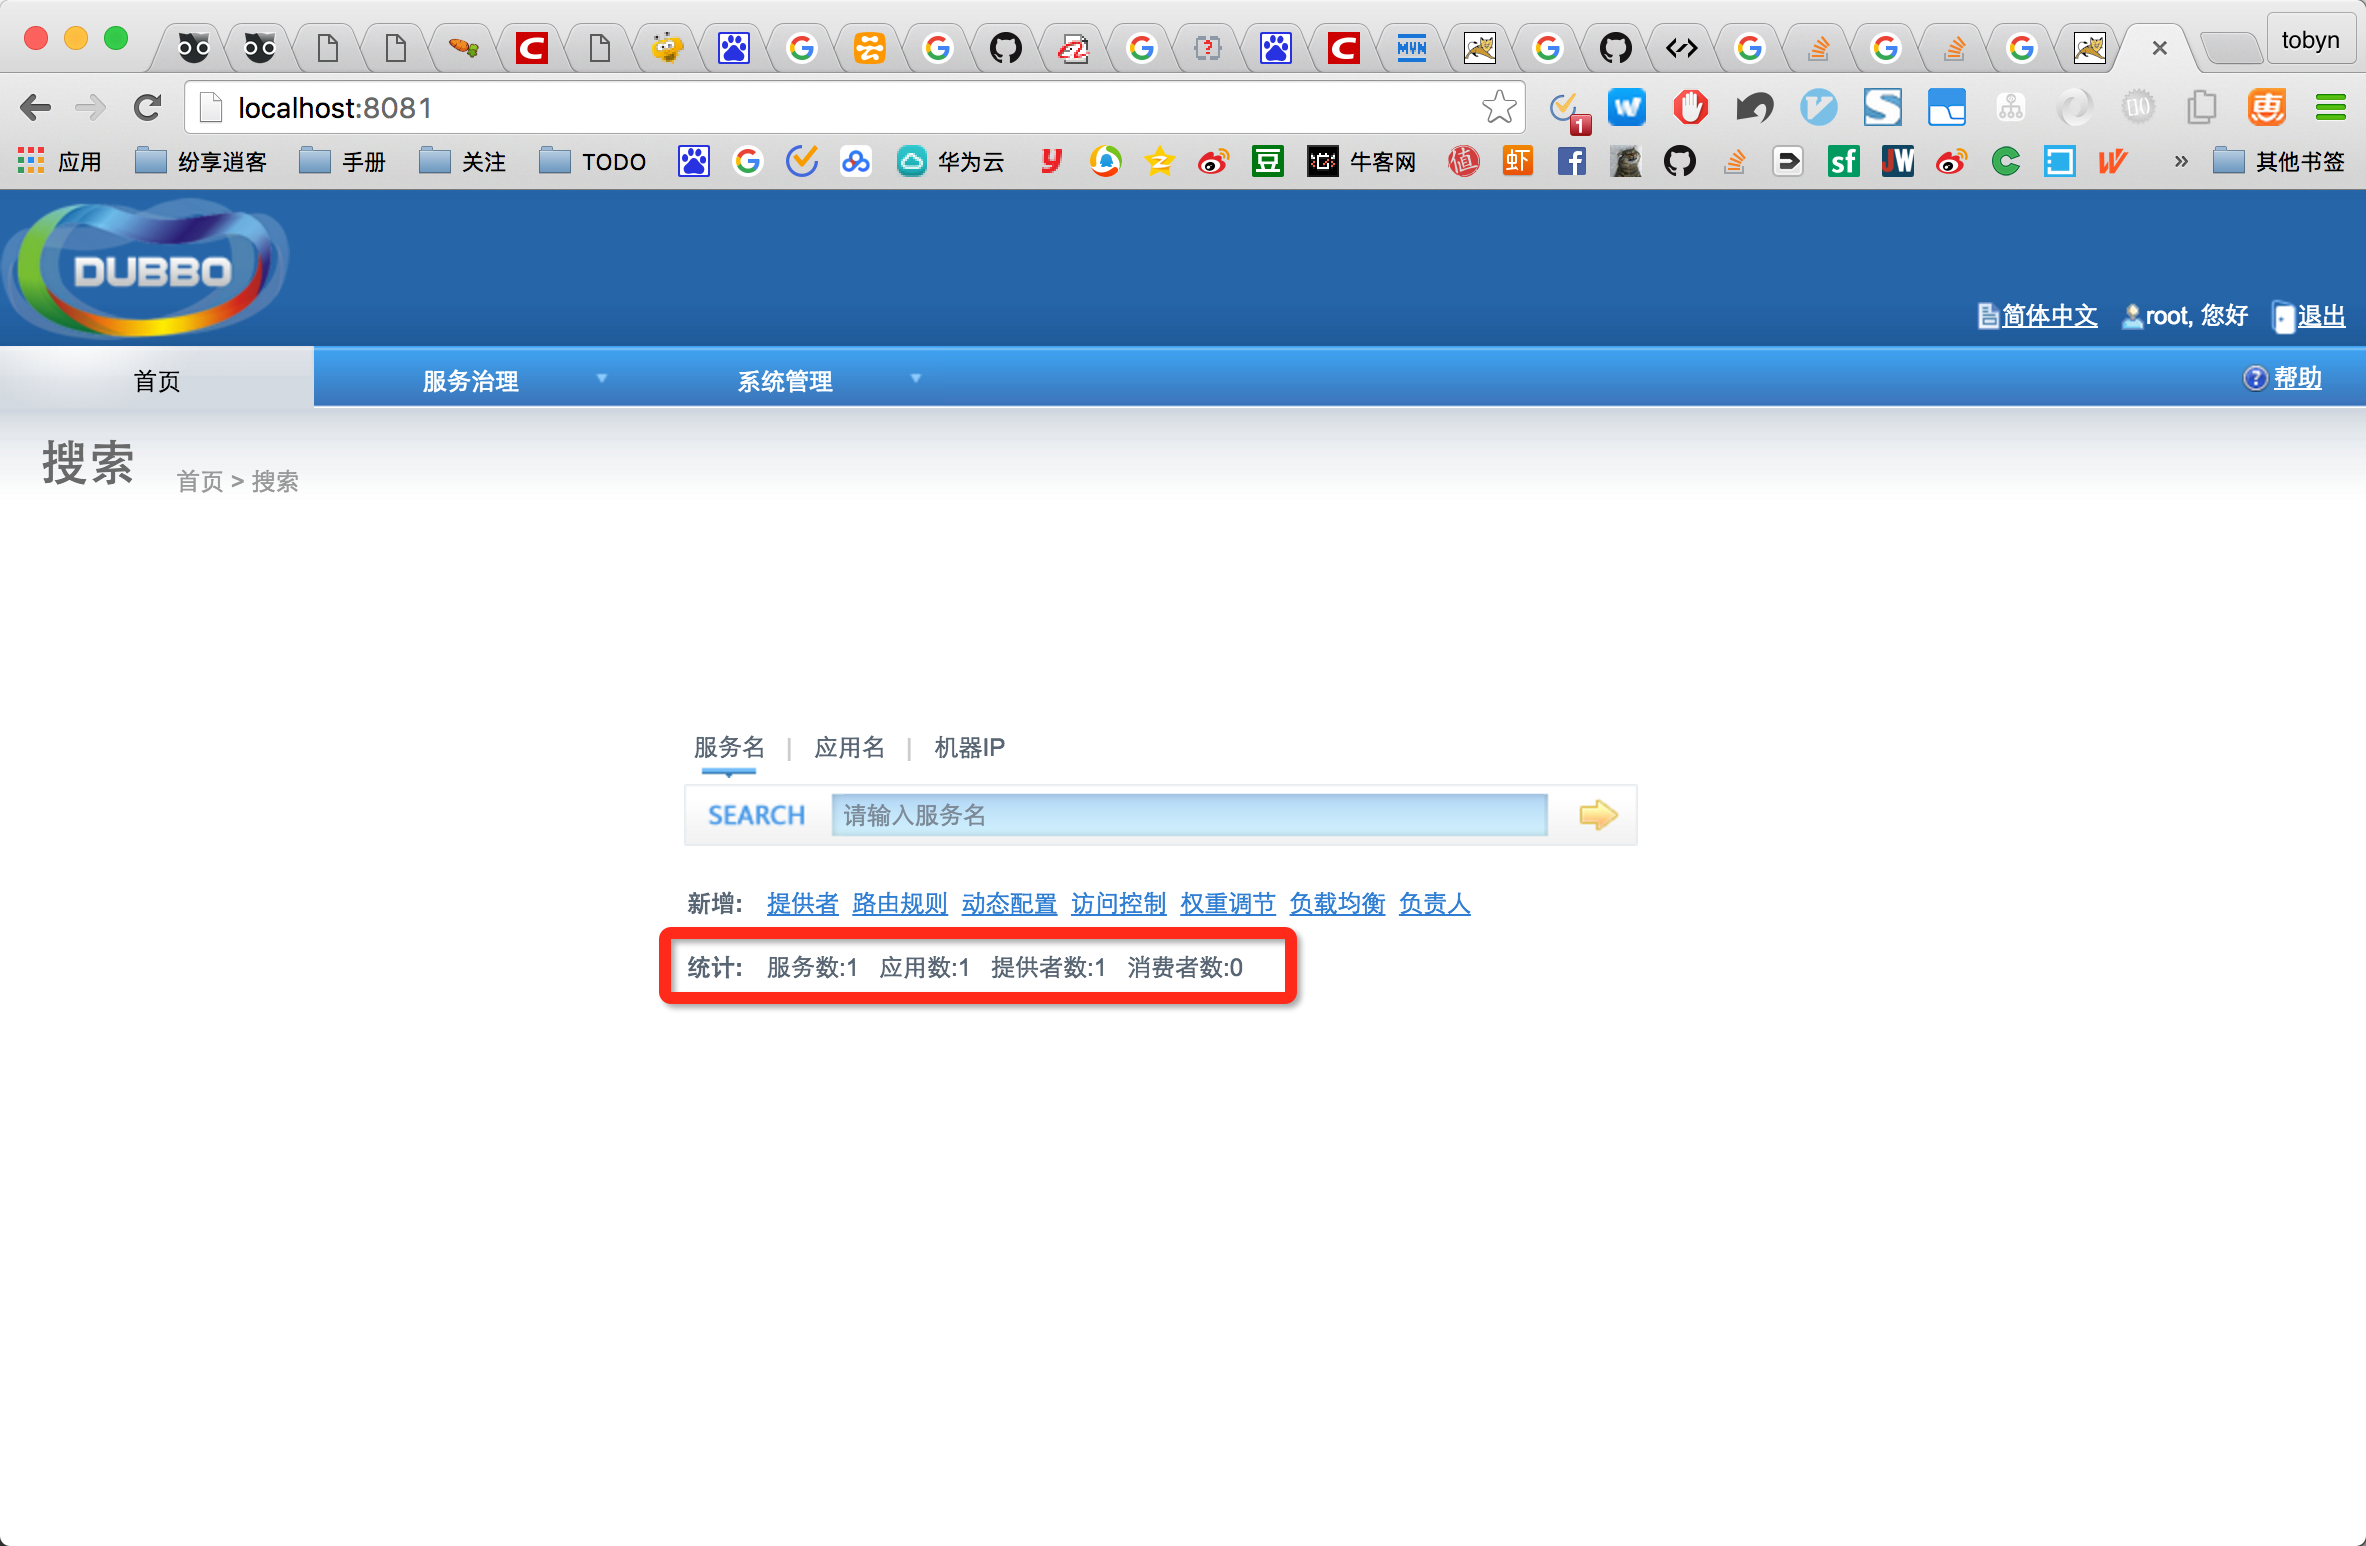
运行provider项目,启动成功后,打开dubbo控制台,可以看到出现了一个服务:

编写服务消费者
确定服务起来后,我们可以开始编写消费者了。
我们写一个消费服务的类:
1
2
3
4
5
6
7
8
9
10
11
12
13
14
15
16
17
18
19
20
21
| import com.mushan.DemoServer;
import org.springframework.context.ApplicationContext;
import org.springframework.context.support.ClassPathXmlApplicationContext;
public class DemoAction {
private DemoServer server;
public void setServer(DemoServer server) {
this.server = server;
}
public void action(String name){
System.out.println(server.sayHello(name));
}
public static void main(String[] args) {
ApplicationContext ctx = new ClassPathXmlApplicationContext("spring.xml");
DemoAction demoAction = (DemoAction) ctx.getBean("demoAction");
demoAction.action("mushan");
}
}
|
然后定义spring配置文件:
1
2
3
4
5
6
7
8
9
10
11
12
13
14
15
16
17
18
| <?xml version="1.0" encoding="UTF-8"?>
<beans xmlns="http://www.springframework.org/schema/beans"
xmlns:dubbo="http://code.alibabatech.com/schema/dubbo"
xmlns:xsi="http://www.w3.org/2001/XMLSchema-instance"
xsi:schemaLocation="http://www.springframework.org/schema/beans http://www.springframework.org/schema/beans/spring-beans.xsd
http://code.alibabatech.com/schema/dubbo http://code.alibabatech.com/schema/dubbo/dubbo.xsd">
<!-- 消费方应用名,用于计算依赖关系,不是匹配条件,不要与提供方一样 -->
<dubbo:application name="dubbo-client"/>
<!-- 使用multicast广播注册中心暴露发现服务地址 -->
<dubbo:registry address="zookeeper://localhost:2181"/>
<dubbo:reference id="demoServer" interface="com.mushan.DemoServer" />
<bean id="demoAction" class="DemoAction">
<property name="server" ref="demoServer" />
</bean>
</beans>
|
执行DemoAction中的main方法,输出’hello mushan!’,成功!
总结
花了两天才把整个环境搭建好。虽然环境搭建复杂,但是但是可以看得出来,使用dubbo封装服务是非常方便的。因为dubbo采用无侵入加上结合spring配置的设置,所以消费者在调用远程服务的时候,只要引入了接口依赖,调用起来和本地无异,具体的通信细节,dubbo都封装好了。
文章中新建的工程可以在我的github上下载:dubbo例子


